一、依赖项目
VNC : 启动虚拟控制端
NoVNC : 启动WEB端管理面板
- 未先启动VNC将导致连接失败
为网站添加https:
- 进入web根路径执行该命令
openssl req -new -x509 -days 365 -nodes -out self.pem -keyout self.pem
二、搭建部署
1、VNC部署
环境:
Ubuntu 22.04安装桌面环境所需的软件包
apt install gnome-panel gnome-settings-daemon metacity nautilus gnome-terminal ubuntu-desktop
安装VNC
apt install tigervnc-standalone-server
启动VNC
- 仅本地可连接:
vncserver - 所有人可连接:
vncserver -localhost no
- 仅本地可连接:
2、NoVnc部署
下载软件包:
wget https://owncloud.gotarget.top/Data/Code/novnc/noVNC-1.4.0.tar.gz
启动程序:
- 解压缩:
tar -zxvf noVNC-1.4.0.tar.gz - 进入目录:
cd noVNC-1.4.0 - 启动程序:
./utils/novnc_proxy --vnc localhost:5901- 注:5901为VNC启动端口
- 注:需要程序后台执行添加nohup命令:
nohup ./utils/novnc_proxy --vnc localhost:5901
- 访问:
http://ip:6080/vnc.html?host=ip&port=6080
- 解压缩:
三、程序效果
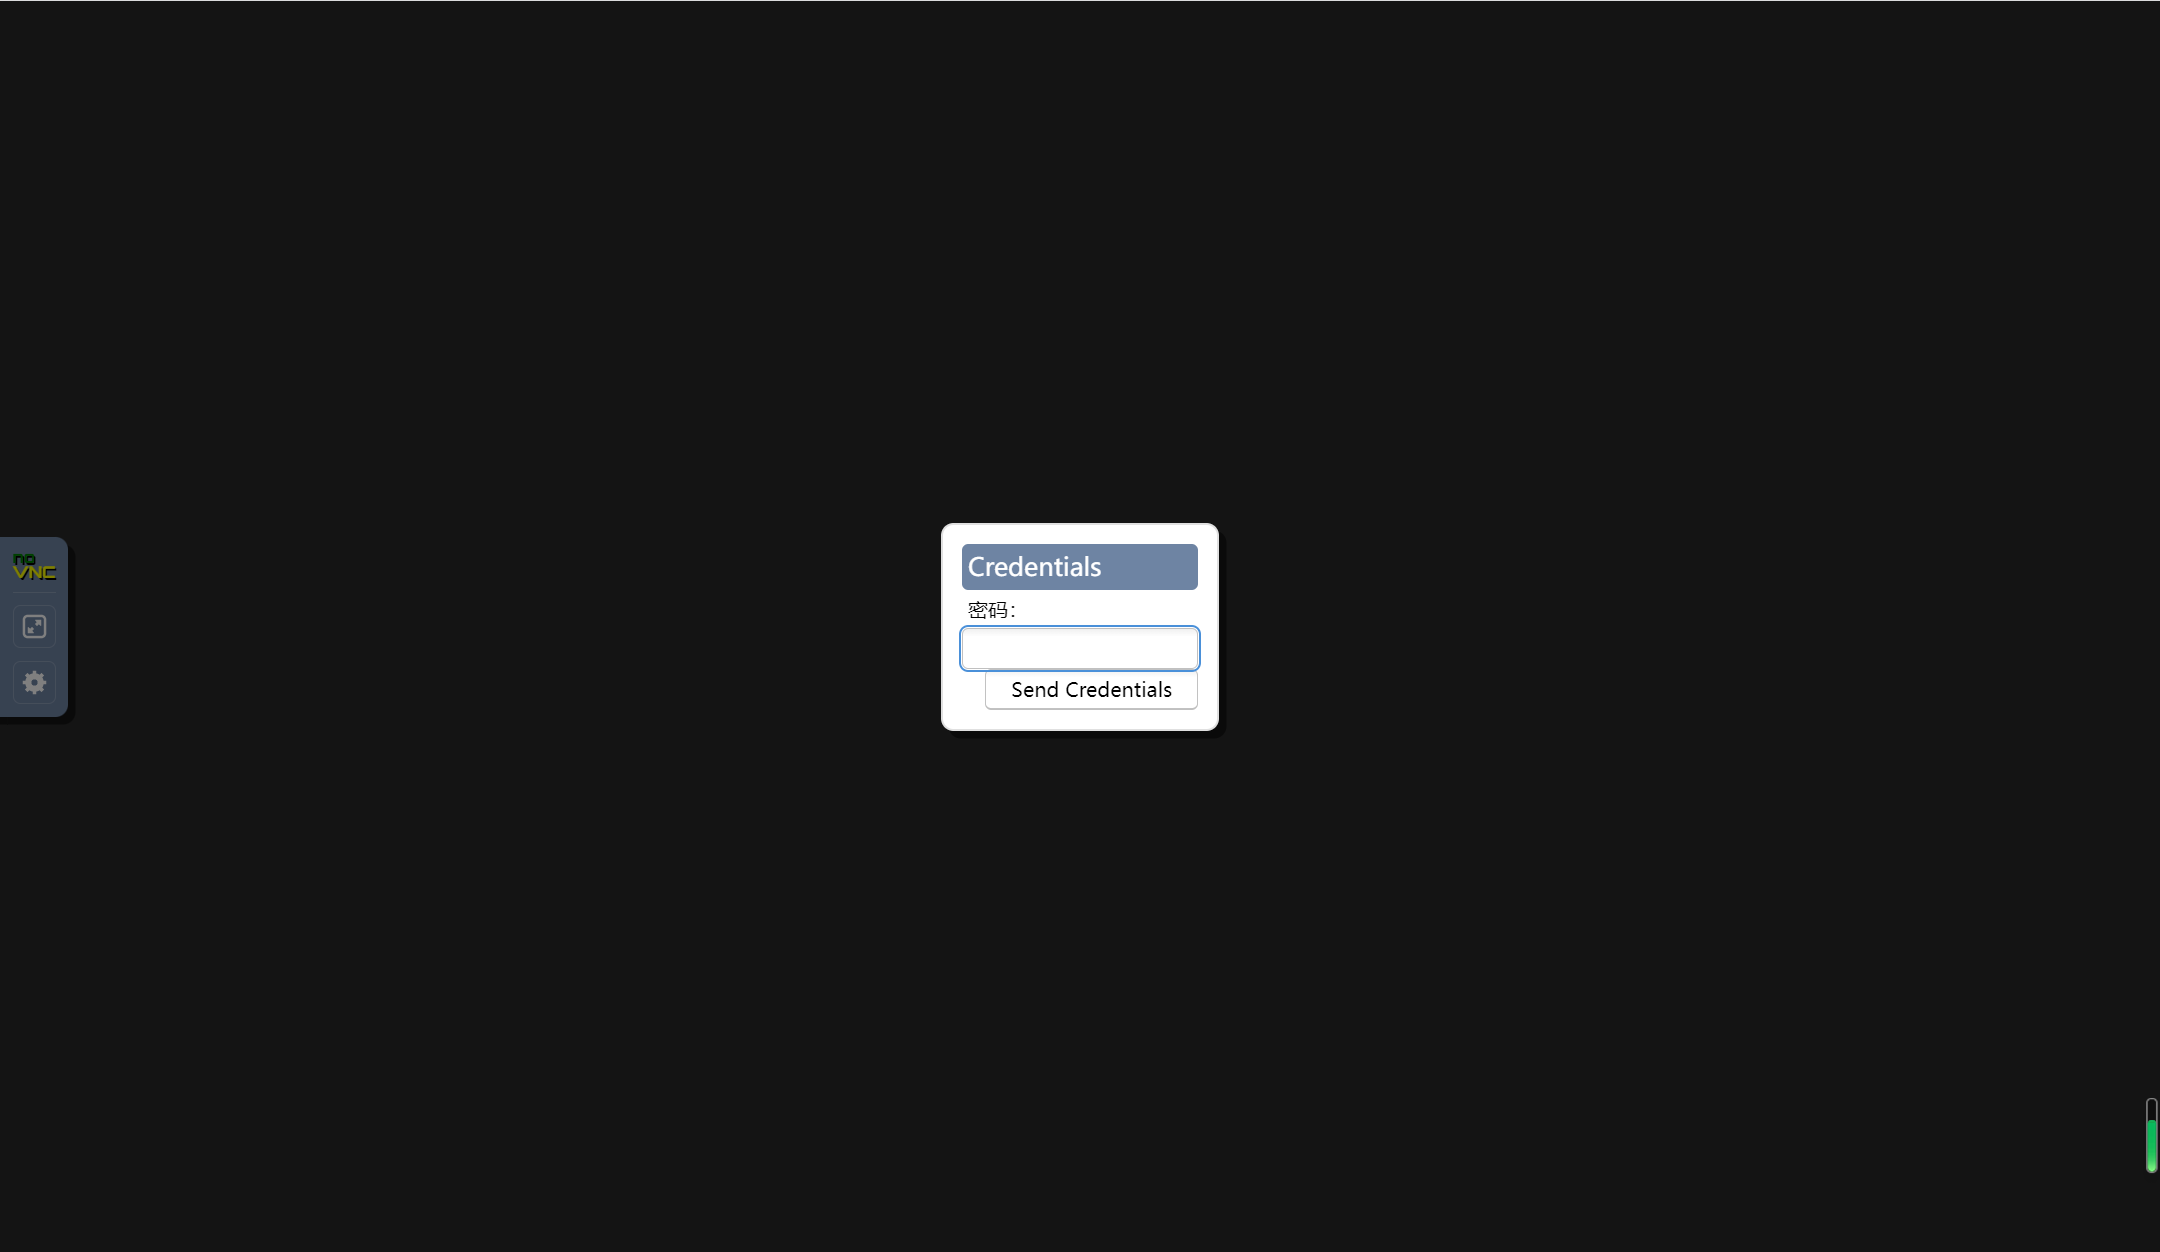
- 初始页面

- 点击连接(密码为启动vnc时设置的密码)
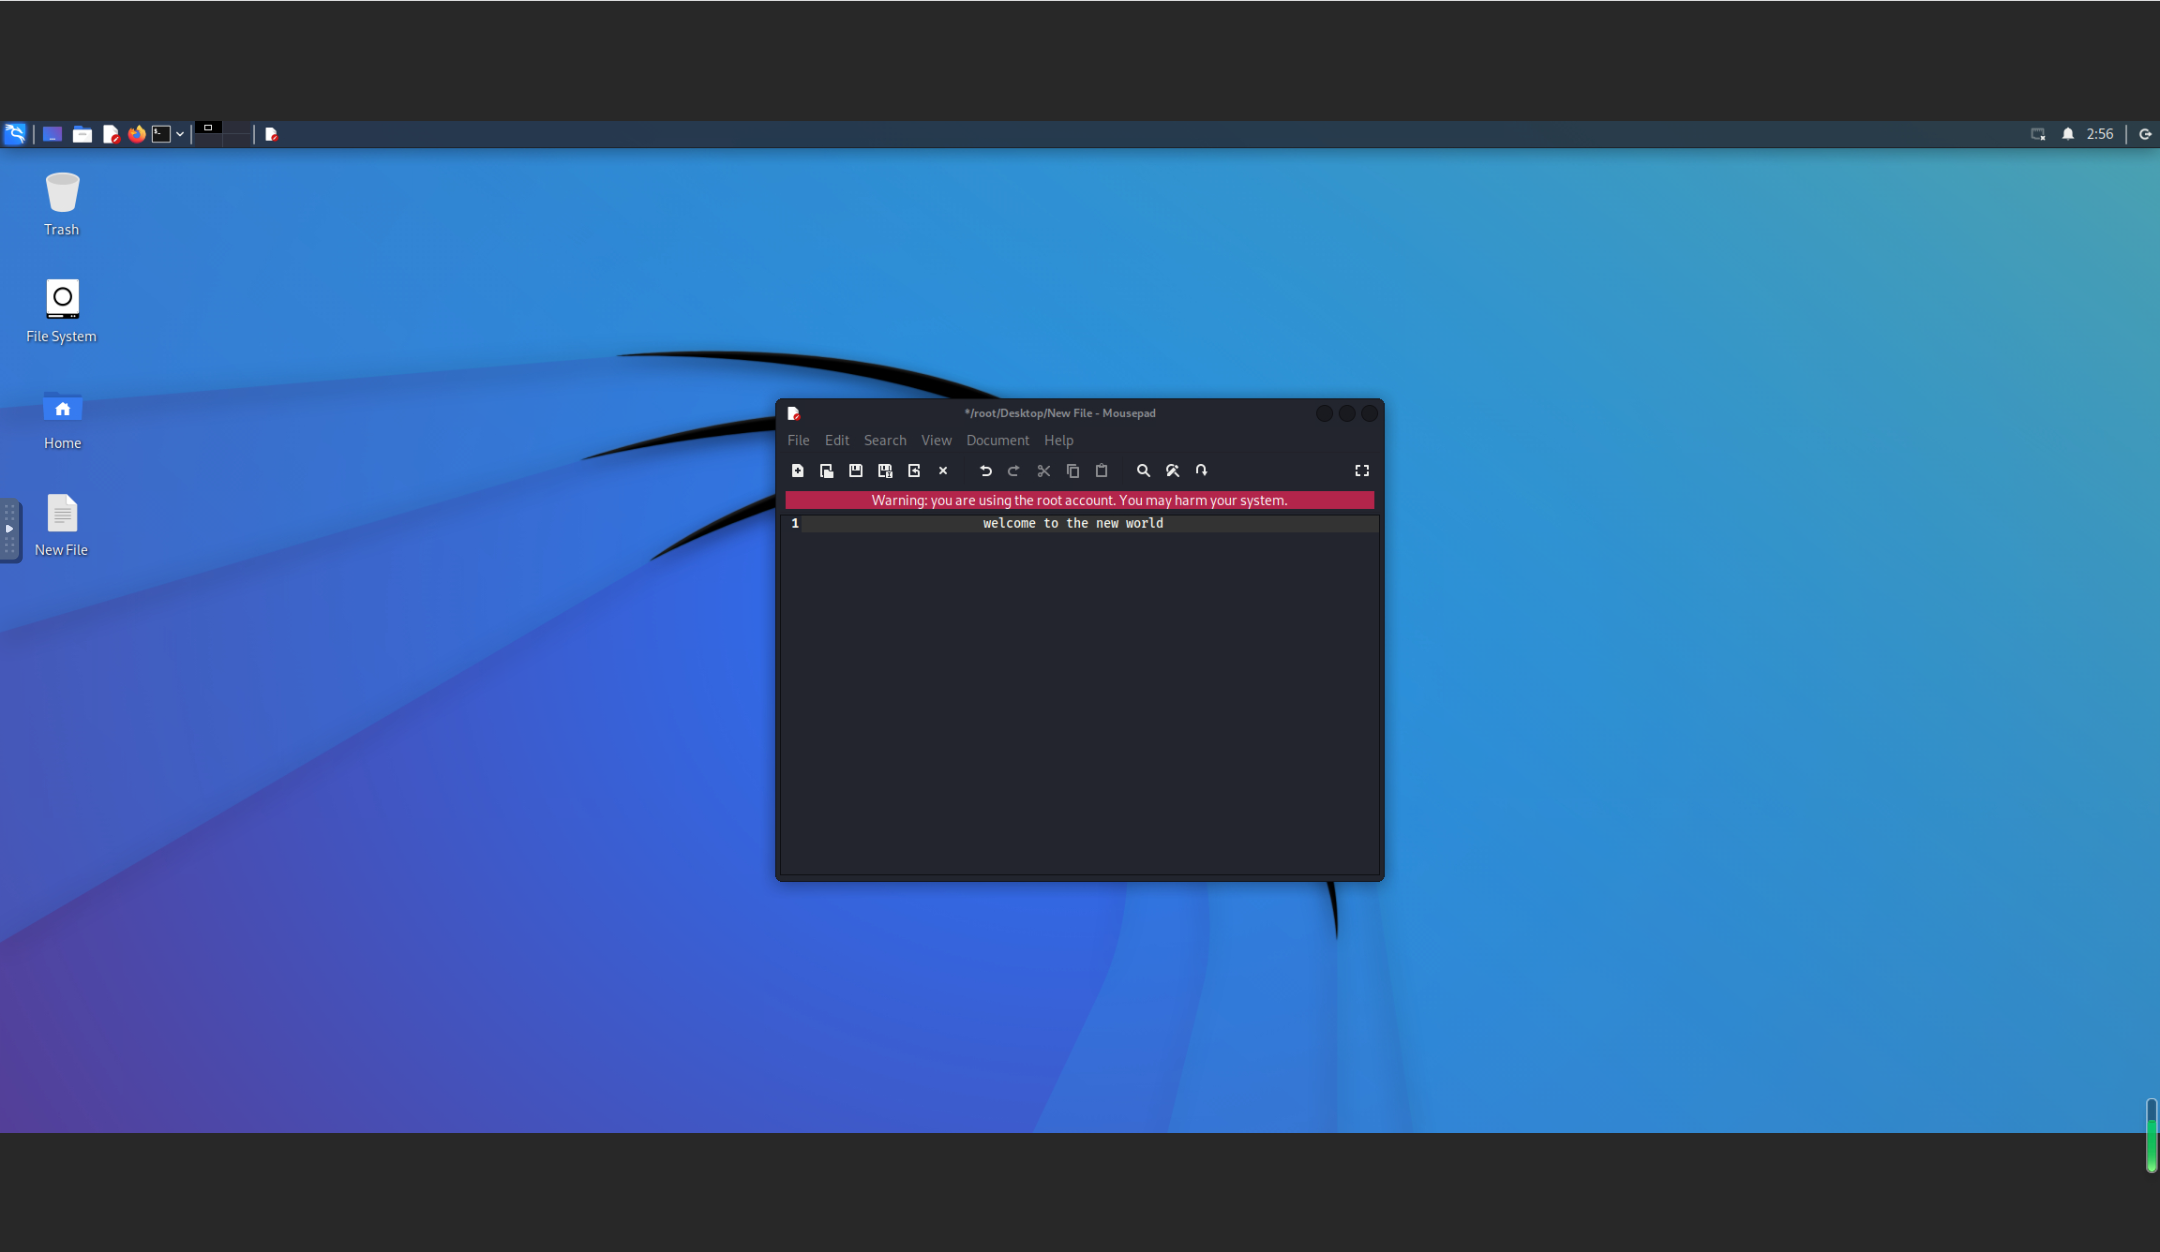
- 进入系统
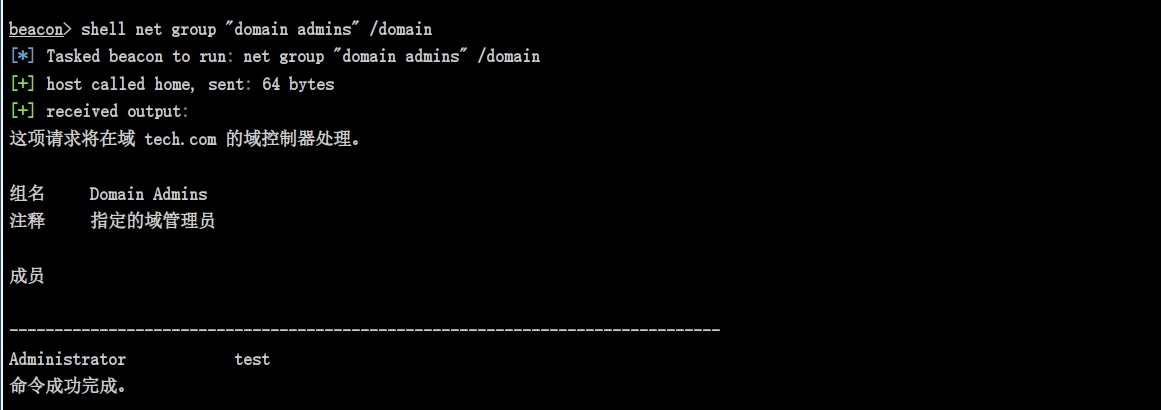
- 服务端(kali-nethunter)

四、常用VNC命令
- 更改密码:
vncpasswd - 查看帮助:
vncserver -h - 查看进程:
vncserver -list - 关闭进程:
vncserver -kill :port